I discovered this about 2 years ago and its a nice Little thing to have in your Digital tool box .I often find my self trying to explain the process to people but i feel like words alone fall Short with out some example.This illustrates the steps involve but it definitely takes some individual experimentation to get it to work for you.
Lets Dig in!
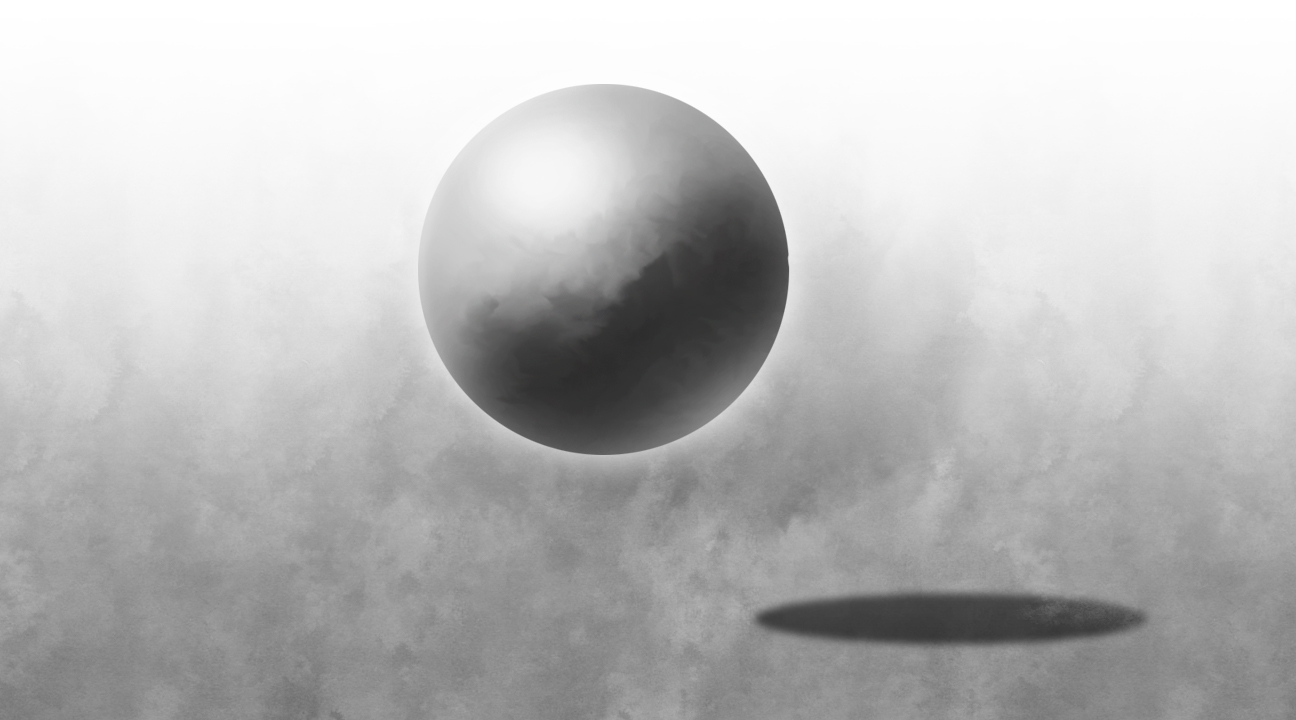
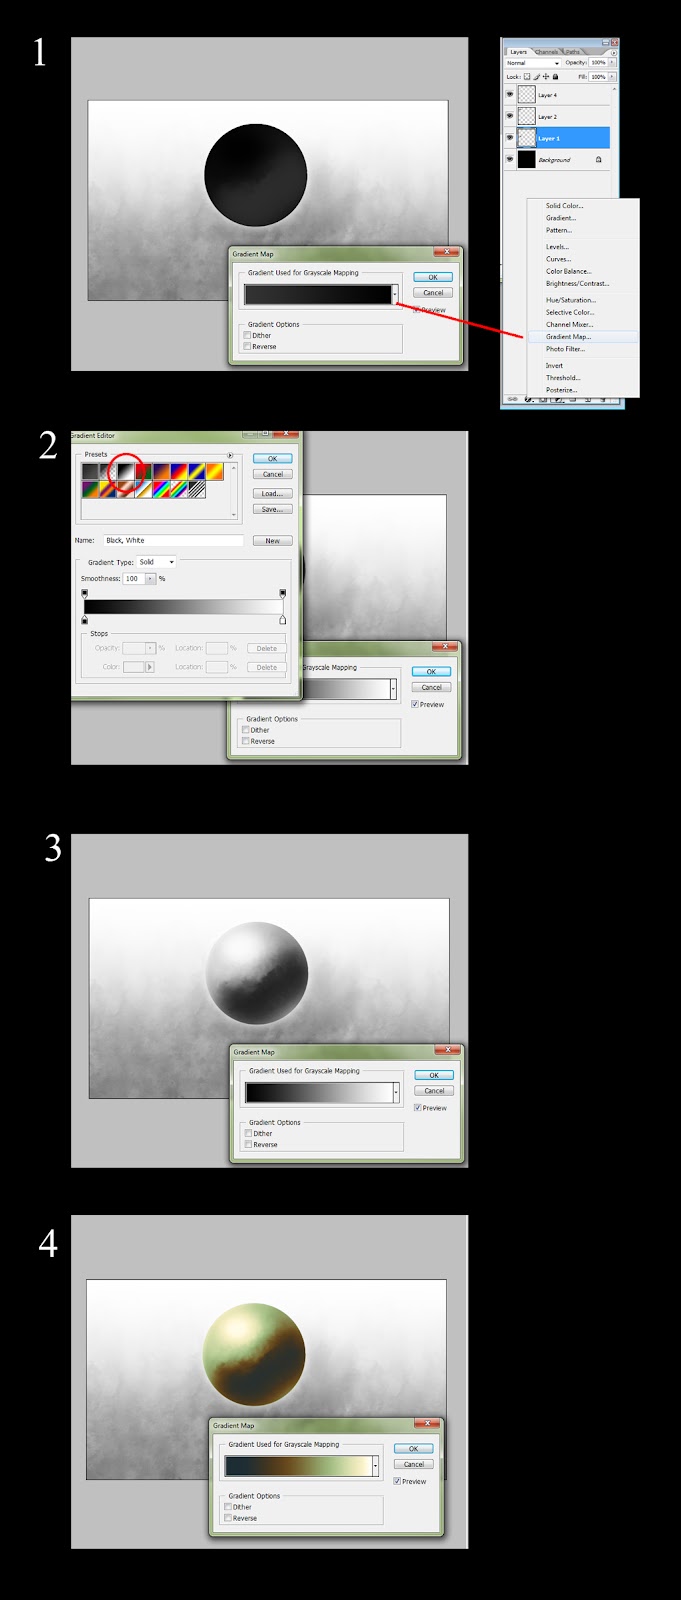
this will be our test subject .hovering sphere .make a selection of the sphere
- At the bottoms of the layers panel select the create new fill/ adjustment layer icon and select gradient map. It will look immediately odd because it uses the first preset by default.
- In the presets select the 3rd preset in .this will make everything look normal again .This is because it is a gradient that goes from dark on the left to light on the right.this is important to remember in order to work with gradient maps.The color on the far left will be applied to the darkest value and the far right color will be applied to the lightest value.
- You are ready to start messing with colors!
- You can create or select the existing" tabs" along the gradient and adjust their color using the color swatch below the gradient.you will notice that each tab has adjustable points on ether side to clamp the color closer to the original point. You can also delete with the delete button or select one and repeat it elsewhere just by touching the gradient. A big part of using these effectively is sliding the tabs along the gradient so you get the right color matching the right value range . Try it out and see what you get.
So you can see at the bottom you can get some nice smooth color transitions really quickly and i think it ends up looking much better than a simple overlay.Using multiple selections you can quickly color an image even if its only to get some base colors in .
A nice use for these in games is also matching colors between several textures by just dragging and dropping gradient map layers into other image files and then tweaking.
I hope this is helpful ! If you catch any mistakes(which i am sure you will) or can see places to make this tutorial better please let me know and i will edit .thanks!